Packaging an Uno Platform app
With the recent release of Uno Platform 5.5, there has been major work done to improve the packaging and publishing experience for Uno Platform apps. If you’ve ever tried packaging up your cross-platform apps for distribution, you’ll know how much of a pain it can be. Each platform has its own set of requirements and tools, and it can be a real headache to get everything set up correctly.
Let’s walk through the recent improvements to the packaging experience!
Desktop Packaging
The App Packaging features released as part of 5.5 focus specifically on the desktop targets for your Uno applications (Windows, macOS, and Linux). These new features are made available through the dotnet publish CLI command and it enables the automation of bundling binaries, assets, and dependencies into platform-specific installers for Linux, macOS and Windows on desktop.
Uno Platform allows you to target all desktop platforms in a cross-platform way with the net8.0-desktop target framework moniker (TFM). This new target framework was released earlier this year and utilizes Skia as the rendering engine for all desktop platforms. So, depending on the platform you are building for, your app will be hosted in one of these native backends:
- Windows, the WPF backend is used,
- Linux, the new X11 backend is used when X11 is available, otherwise the Linux Framebuffer backend is used,
- macOS, the new AppKit backend with Metal is used
Now, back to packaging. While it’s nice to be able to build and deploy your app to all these platforms, it’d be even better to be able to package it up into a distributable installer that users can easily install on their machines. This is where the new packaging features come in. You can now utilize dotnet publish to generate packages for either:
- Windows (ClickOnce),
- Linux (Snap),
- macOS (.app)
So let’s whip up a quick app and get it packaged up for all three platforms!
Create an app
Let’s say I have a simple Uno Platform app that I want to package up. I’ll create a new Uno Platform app using the dotnet new unoapp CLI command.
But I am pretty lazy and I don’t feel like doing all that typing and figuring out the right command line arguments. So I’ll just hop over to the Uno Platform Live Wizard and generate the required dotnet new command. I just want a blank app and I only really care about the Skia Desktop platforms for now. After making my selection, I hit Create and out pops the command I need to run in my terminal.
1

dotnet new unoapp -o MyUnoApp -platforms "desktop"
This command is pretty simple but it is a very convenient tool when you are creating an app with many different features and platforms.
After running the provided command, I have a new Uno Platform app ready to go. I can open up VS Code and run the app on my macOS machine:
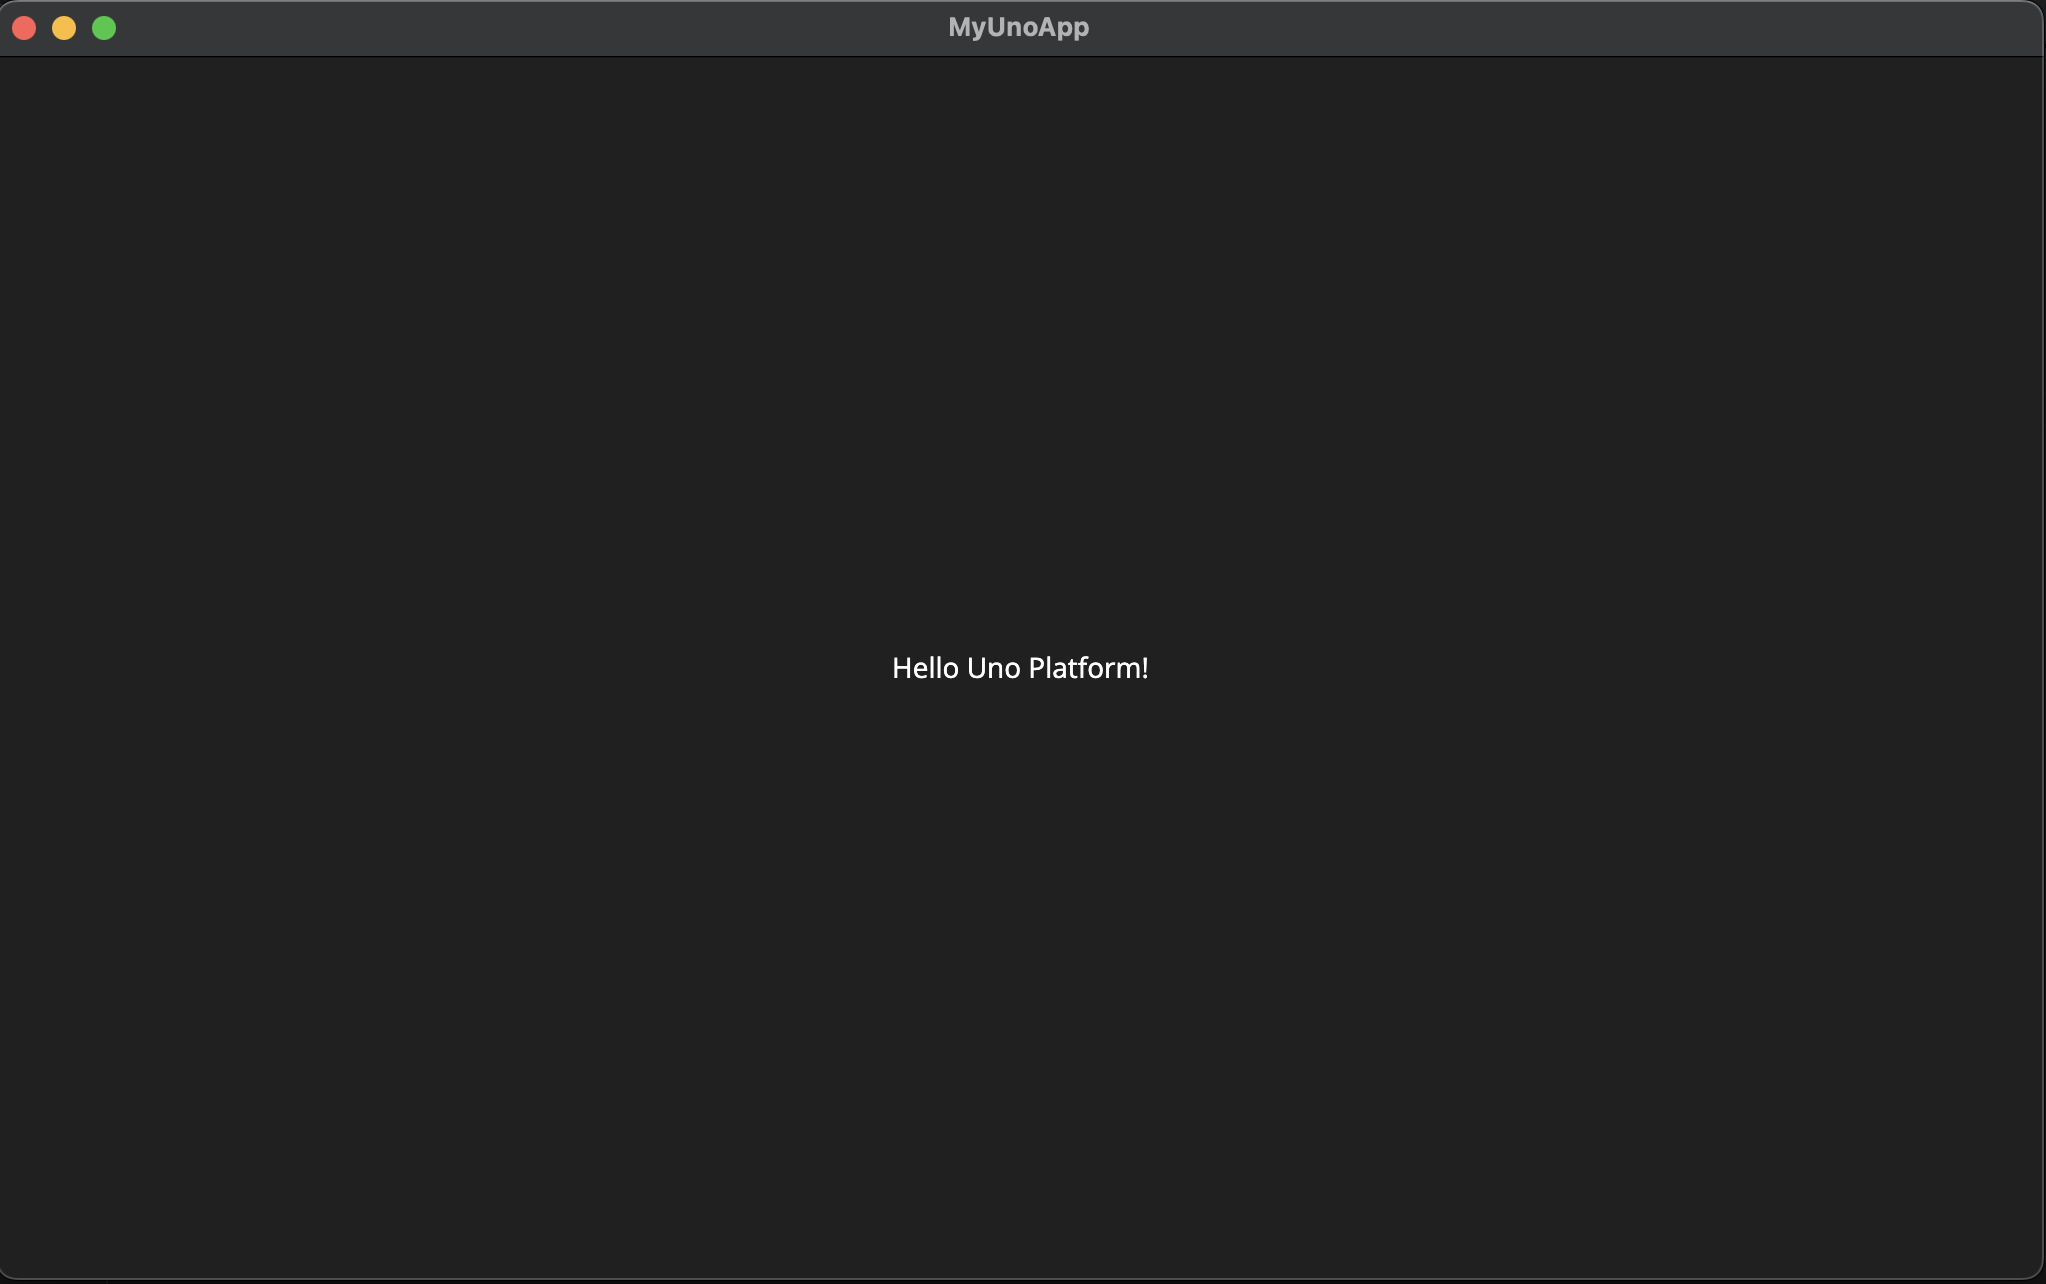
A beautiful app, let’s ship it! :shipit:
Packaging (Windows)
Packaging and publishing is done using ClickOnce for Windows environments. ClickOnce is a deployment technology that makes it a breeze to install and automatically upgrade Windows apps.
There are a couple of extra steps you need to take for ClickOnce.
First, you’ll need a publish profile (.pubxml) file that contains the necessary settings for ClickOnce. You can either create this file manually or use the publishing wizard inside of Visual Studio.
There are a few caveats when it comes to publishing through Visual Studio. Make sure to read the documentation carefully to avoid any issues.
You can use this pre-built .pubxml:
1
2
3
4
5
6
7
8
9
10
11
12
13
14
15
16
17
18
19
20
21
22
23
24
25
26
27
28
29
30
31
32
33
34
35
36
37
38
39
40
41
42
43

<?xml version="1.0" encoding="utf-8"?>
<!-- https://go.microsoft.com/fwlink/?LinkID=208121. -->
<Project>
  <PropertyGroup>
    <ApplicationRevision>0</ApplicationRevision>
    <ApplicationVersion>1.0.0.*</ApplicationVersion>
    <BootstrapperEnabled>True</BootstrapperEnabled>
    <Configuration>Release</Configuration>
    <CreateWebPageOnPublish>False</CreateWebPageOnPublish>
    <GenerateManifests>true</GenerateManifests>
    <Install>True</Install>
    <InstallFrom>Disk</InstallFrom>
    <IsRevisionIncremented>True</IsRevisionIncremented>
    <IsWebBootstrapper>False</IsWebBootstrapper>
    <MapFileExtensions>True</MapFileExtensions>
    <OpenBrowserOnPublish>False</OpenBrowserOnPublish>
    <Platform>x64</Platform>
    <PublishProtocol>ClickOnce</PublishProtocol>
    <PublishReadyToRun>False</PublishReadyToRun>
    <PublishSingleFile>False</PublishSingleFile>
    <RuntimeIdentifier>win-x64</RuntimeIdentifier>
    <SelfContained>True</SelfContained>
    <SignatureAlgorithm>(none)</SignatureAlgorithm>
    <SignManifests>False</SignManifests>
    <SkipPublishVerification>false</SkipPublishVerification>
    <TargetFramework>net8.0-desktop</TargetFramework>
    <UpdateEnabled>False</UpdateEnabled>
    <UpdateMode>Foreground</UpdateMode>
    <UpdateRequired>False</UpdateRequired>
    <WebPageFileName>Publish.html</WebPageFileName>

    <!-- Those two lines below need to be removed when building using "UnoClickOncePublishDir" -->
    <PublishDir>bin\Release\net8.0-desktop\win-x64\app.publish\</PublishDir>
    <PublishUrl>bin\publish\</PublishUrl>
  </PropertyGroup>
  <ItemGroup>
    <!-- This section needs to be adjusted based on the target framework -->
    <BootstrapperPackage Include="Microsoft.NetCore.DesktopRuntime.8.0.x64">
      <Install>true</Install>
      <ProductName>.NET Desktop Runtime 8.0.10 (x64)</ProductName>
    </BootstrapperPackage>
  </ItemGroup>
</Project>
In your project, you will need to add this .pubxml file and place it at Properties\PublishProfiles\ClickOnceProfile.pubxml
Next, open the Developer Command Prompt for Visual Studio and run the following command from the root folder of your solution:
1

msbuild /m /r /target:Publish /p:Configuration=Release /p:PublishProfile="Properties\PublishProfiles\ClickOnceProfile.pubxml" /p:TargetFramework=net8.0-desktop
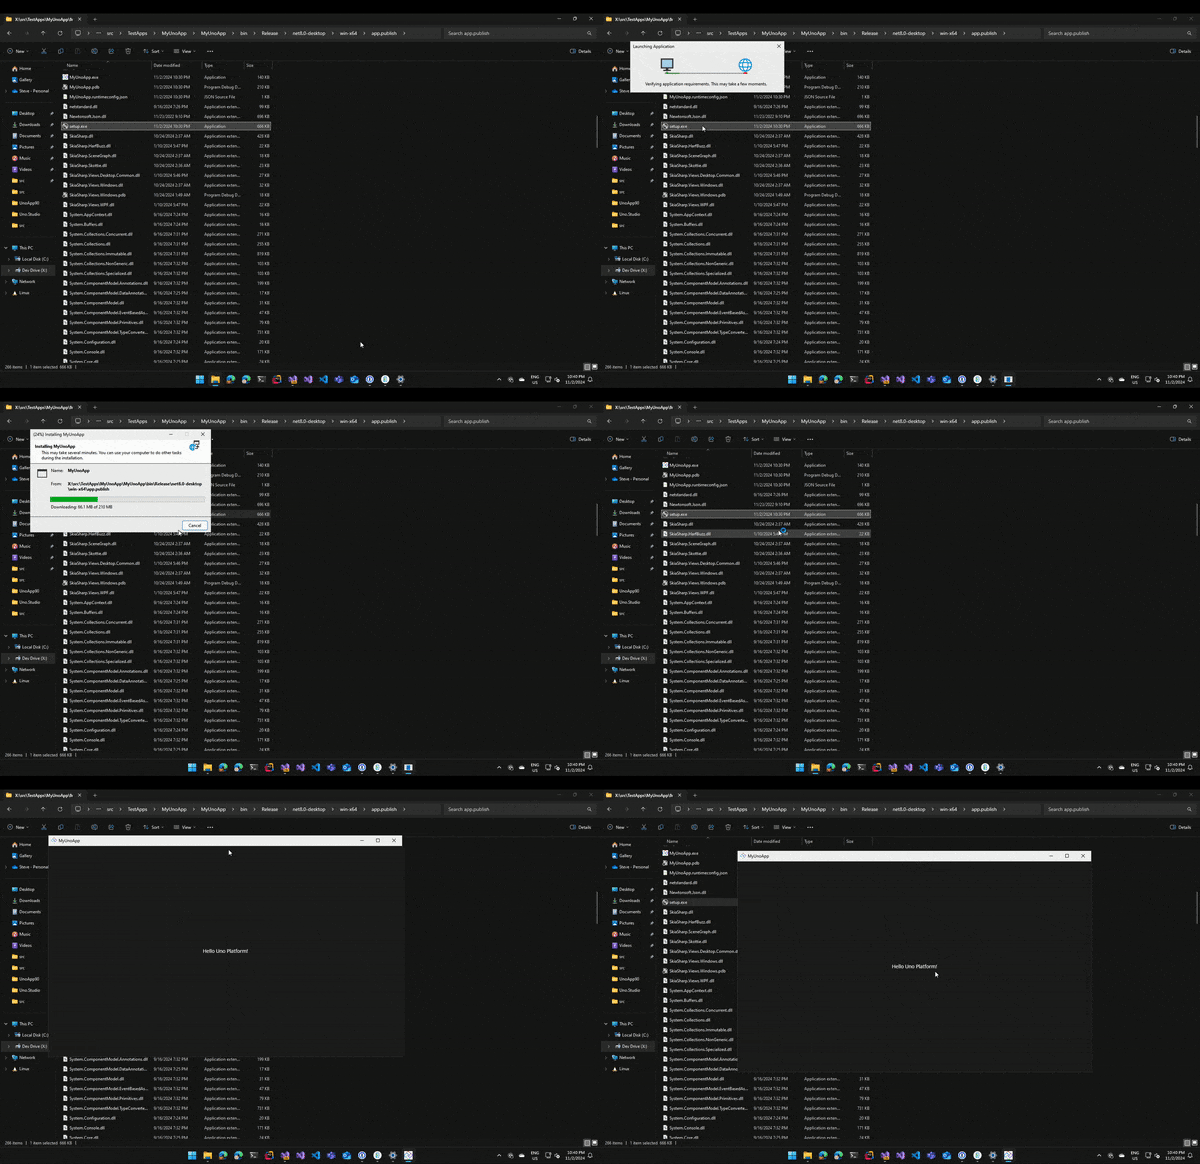
You should now have a setup.exe file in bin\Release\net8.0-desktop\win-x64\app.publish, depending on your configuration the path might be slightly different.
Running setup.exe will install and launch your app on the machine:
Packaging (macOS)
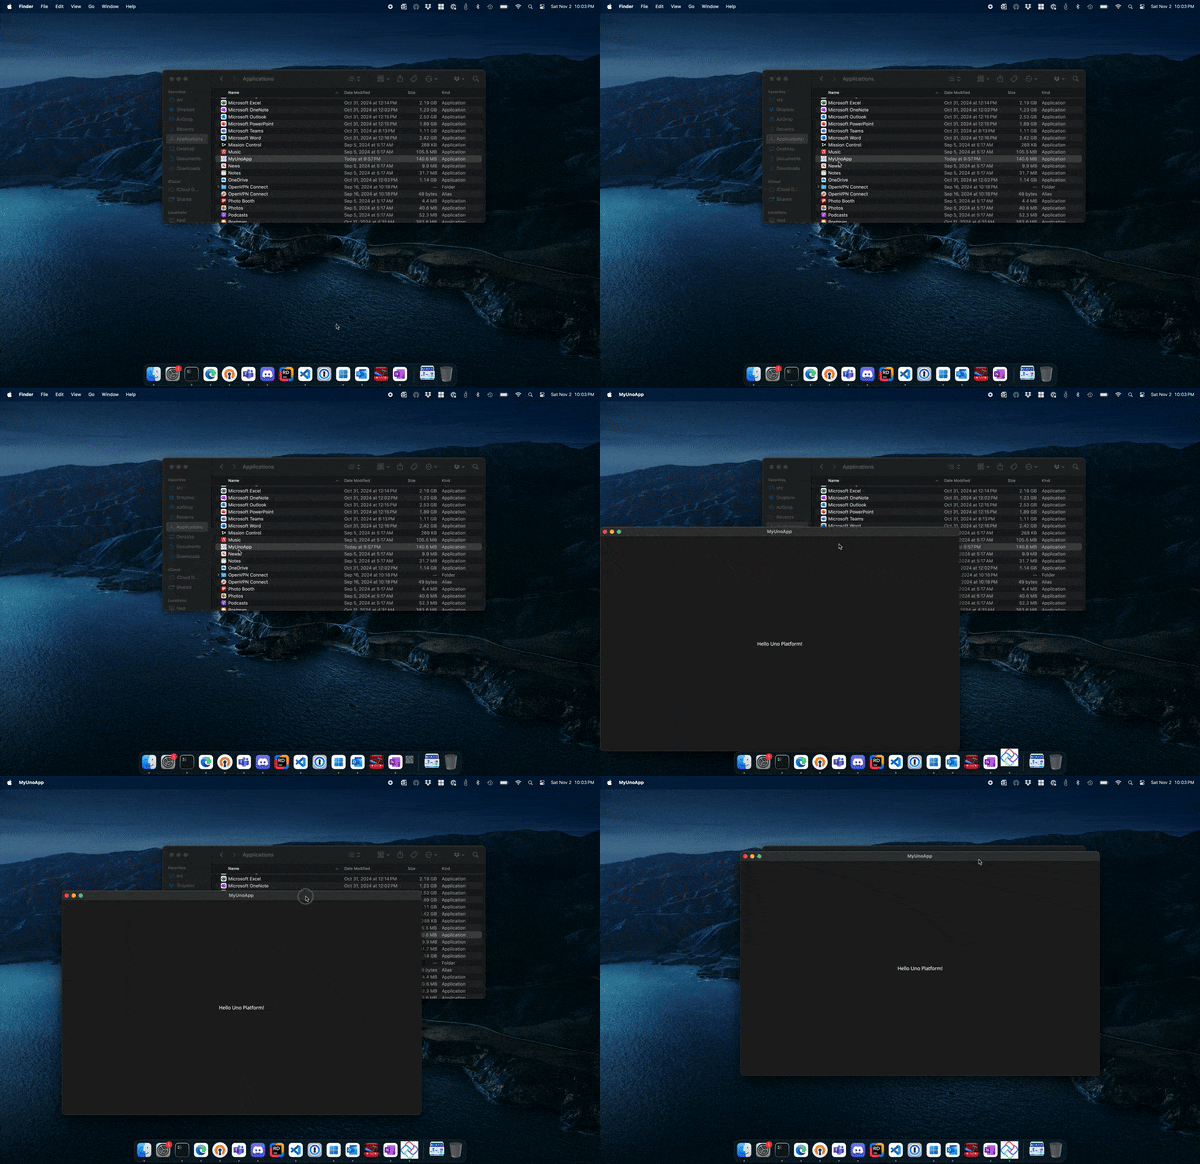
For macOS, we can generate a .app bundle that you can install by simply moving it into the Applications folder.
Simply run the following command from the root folder of your solution:
1

dotnet publish -f net8.0-desktop -p:PackageFormat=app
You should now have a .app bundle in the bin/Release/net8.0-desktop/publish folder. Drag that .app over to your Applications folder and you’re good to go!
Packaging (Linux)
Packaging on Linux is supported through .snap packages. Make sure to follow the requirements for building snaps on your Linux distribution.
Once you have the requirements set up, you can run the following command from the root folder of your solution:
1

dotnet publish -f net8.0-desktop -p:SelfContained=true -p:PackageFormat=snap
You should now have a .snap package in the publish folder of your bin. You can submit that to the Snap Store for distribution.
Conclusion
It’s time to wrap up (get it?) this packaging guide.
You now have an easily installable app for Windows, macOS, and Linux. You can distribute these packages to your users or submit them to the respective app stores for distribution.
Of course, there is also existing support for WebAssembly and mobile app packages. You can find more information on packaging for every platform in the Uno Platform documentation.
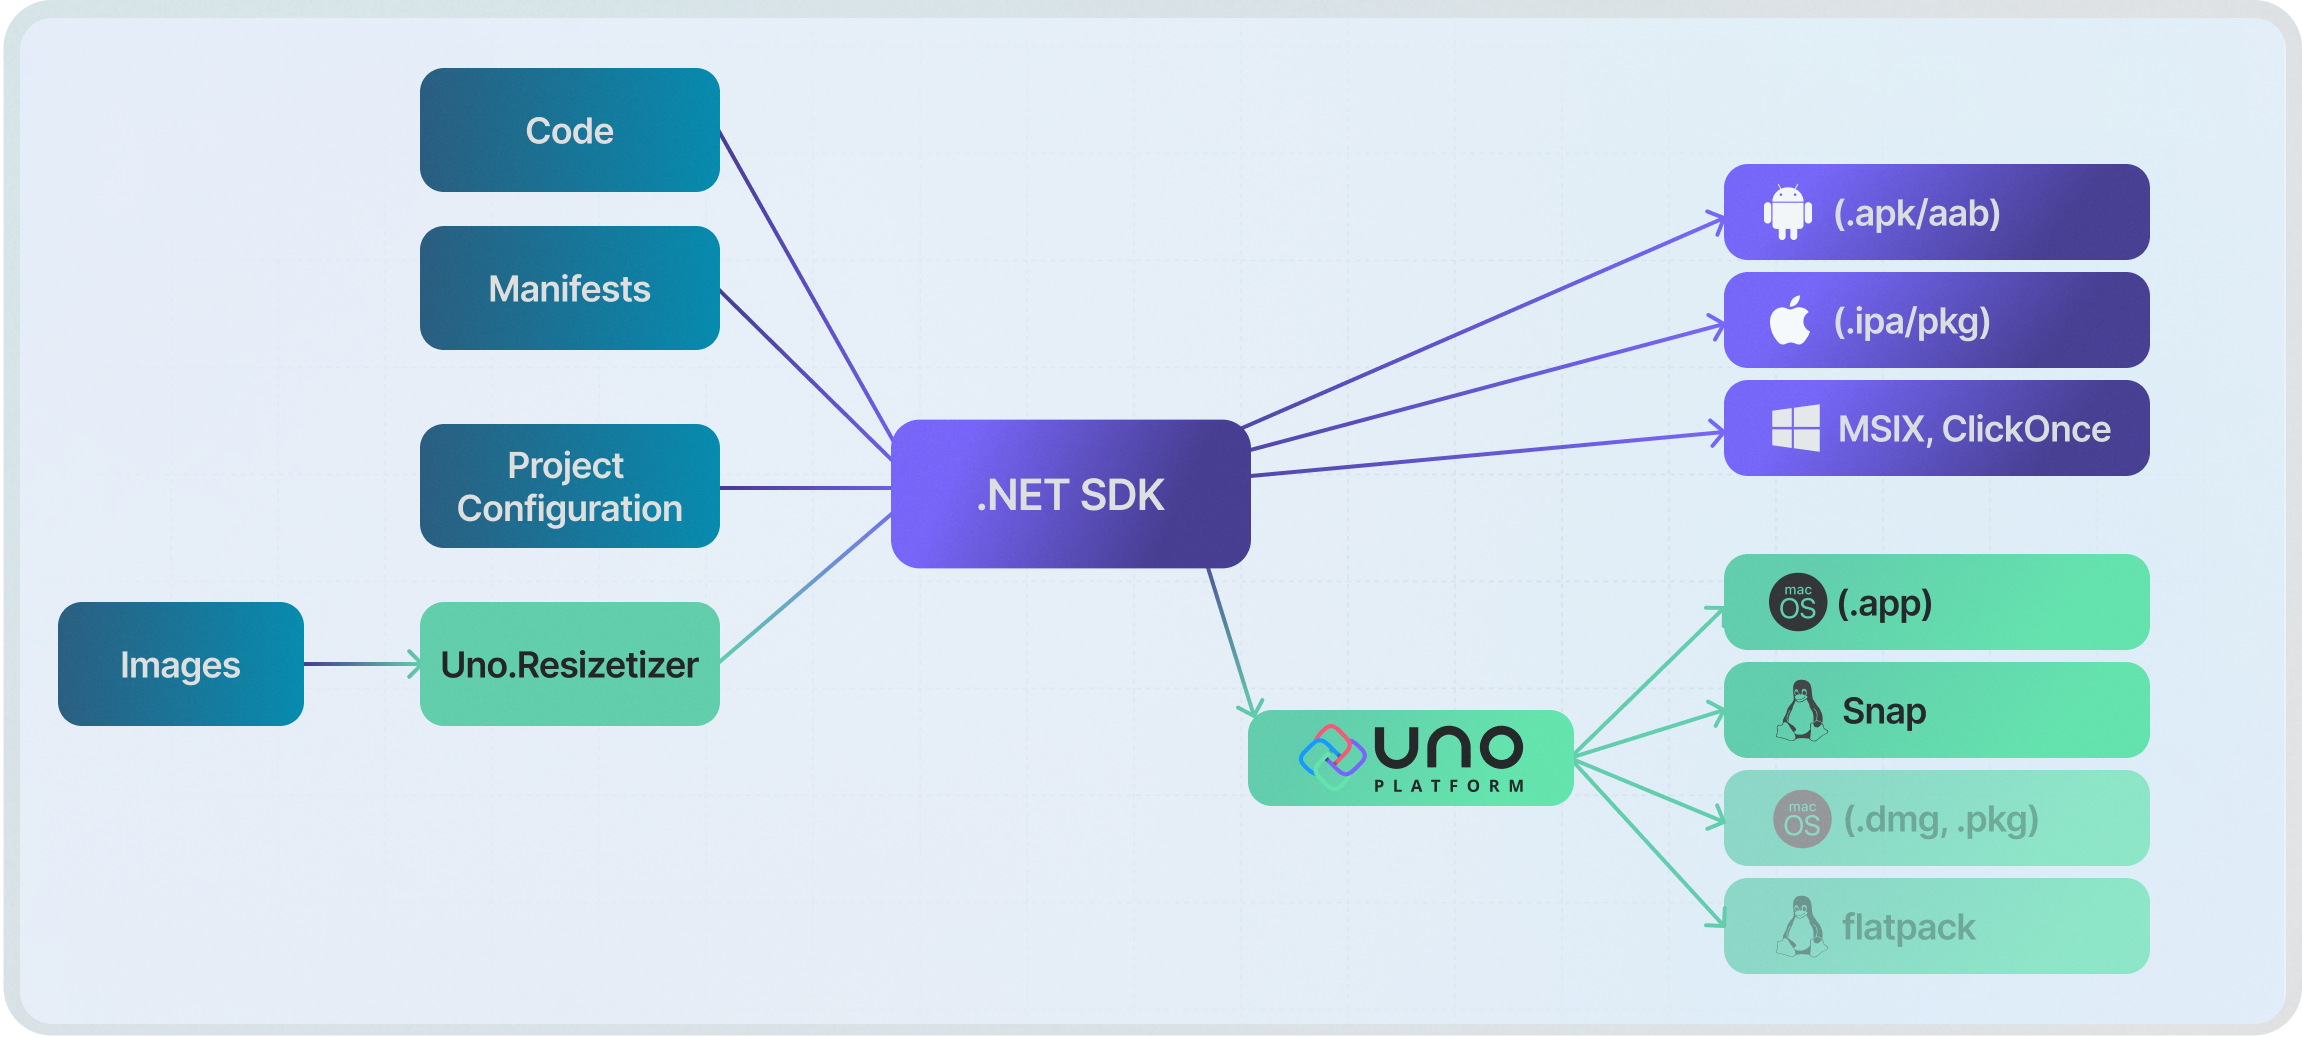
To better visualize the process for each platform, you can look at the following diagram:
Catch you in the next one ![]()


